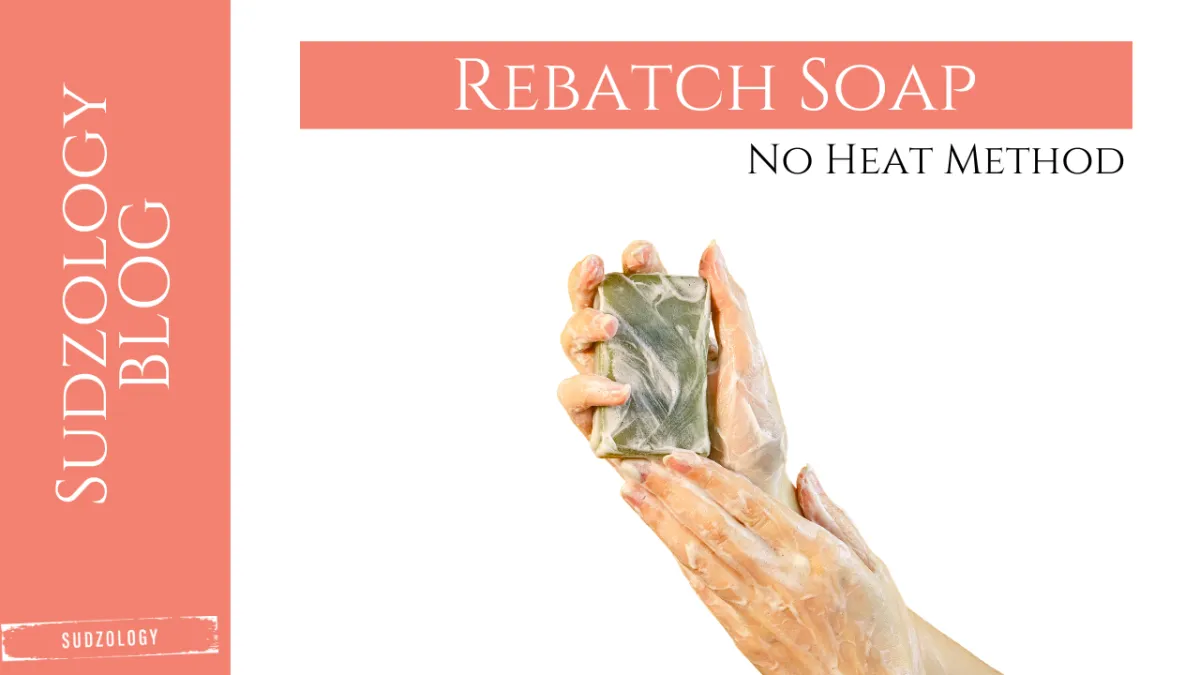
How to Rebatch Soap: Recycling Old Soap Scraps into New Bars
Rebatching soap is an excellent way to recycle old soap scraps, giving them a new life while creating unique, customized bars. The no-heat rebatch method is simple, effective, and allows you to maintain the integrity of your ingredients. This guide will walk you through the process of reusing old soap scraps and incorporating them into a new batch of cold-process soap.
Step 1: Gather and Prepare Your Soap Scraps
Start by collecting your old soap scraps. You can use any leftover pieces from previous batches, whether they’re full bars that didn’t turn out as expected or small remnants from your soap dish. Aim to have enough scraps to make up about 30% of the total weight of oils in your new soap recipe.
Tip: Shred or grate your soap scraps for easier blending.
Step 2: Choose Your New Soap Recipe
Example Recipe:
Olive Oil: 194 grams
Coconut Oil: 116 grams
Shea Butter: 38 grams
Lye: 50 grams
Water: 70 grams
Soap Scraps: 160 grams (30% of the total oil weight)
If you are using a 50/50 lye water master batched solution:
Extra Liquid: 20 grams
Lye Water Solution: 100 grams
Shredded Soap: 150 grams
Sea Salt: 25 grams (7% of 350 grams total batch size for extra hardness and bubbles)
Essential Oils: 10-15 grams
Step 3: Blend the Soap Scraps into Your New Batch
Melt your oils and incorporate the soap scraps directly into them. Blend the mixture thoroughly, allowing the scraps to blend evenly with the new oils. Once well blended, add your desired colorant. Once satisfied with the color, add the lye and fragrance. If you want to increase the soap’s hardness and bubbles, you can also add sea salt at this stage.
Step 4: Add Colorants and Clays
To give your rebatch soap a fresh look, you can add colorants, clays, or other beneficial ingredients at this stage. Mix them thoroughly to ensure even distribution.
Coloring: Natural colorants like activated charcoal work well.
Clays: Kaolin or bentonite clay can add smoothness and enhance the skin benefits of your soap.
Step 5: Pour into Molds and Cure
After thoroughly mixing, pour the soap batter into molds. Because this is a no-heat method, there’s no need to cook the soap scraps down, which helps preserve their original properties. Smooth the top of the soap, and let it set in the mold for 24-48 hours before unmolding.
Tip: Insulating the mold is optional, but it can help ensure the soap sets evenly.
Step 6: Cut and Cure the Soap
Once the soap is firm enough, remove it from the mold and cut it into bars. The curing process is crucial, allowing the soap to harden and any remaining water to evaporate. Let your soap cure for 4-6 weeks in a cool, dry place.
Tip: Rotate the bars during the curing process to ensure even drying.
Conclusion
Rebatching soap is an excellent way to reduce waste and get creative with your soap-making process. By incorporating 30% old soap scraps into your new batch, you’re not only recycling but also adding character and uniqueness to your final product. Whether you’re looking to experiment with colors and textures or simply make the most of your soap scraps, this method is both sustainable and rewarding.
Happy soaping!
